Conversations about sous-vide cooking frequently begin and end with “it makes a good steak,” which, though very true, is grossly shortsighted.
The why of sous-vide cooking is clear: the device’s function is bringing anything you can put in a bag to an exact temperature and removing much of the difficulty of constant temperature probing in the cooking process. But that function deserves a bit more thought than a simple, albeit delicious, steak.
“I think a lot of people still see it as this fancy way of boiling your food,” said Nick Gavin, longtime chef at ChefSteps, a huge online teaching and learning community for cooking. “It’s more like a modern-day crockpot on crack.”
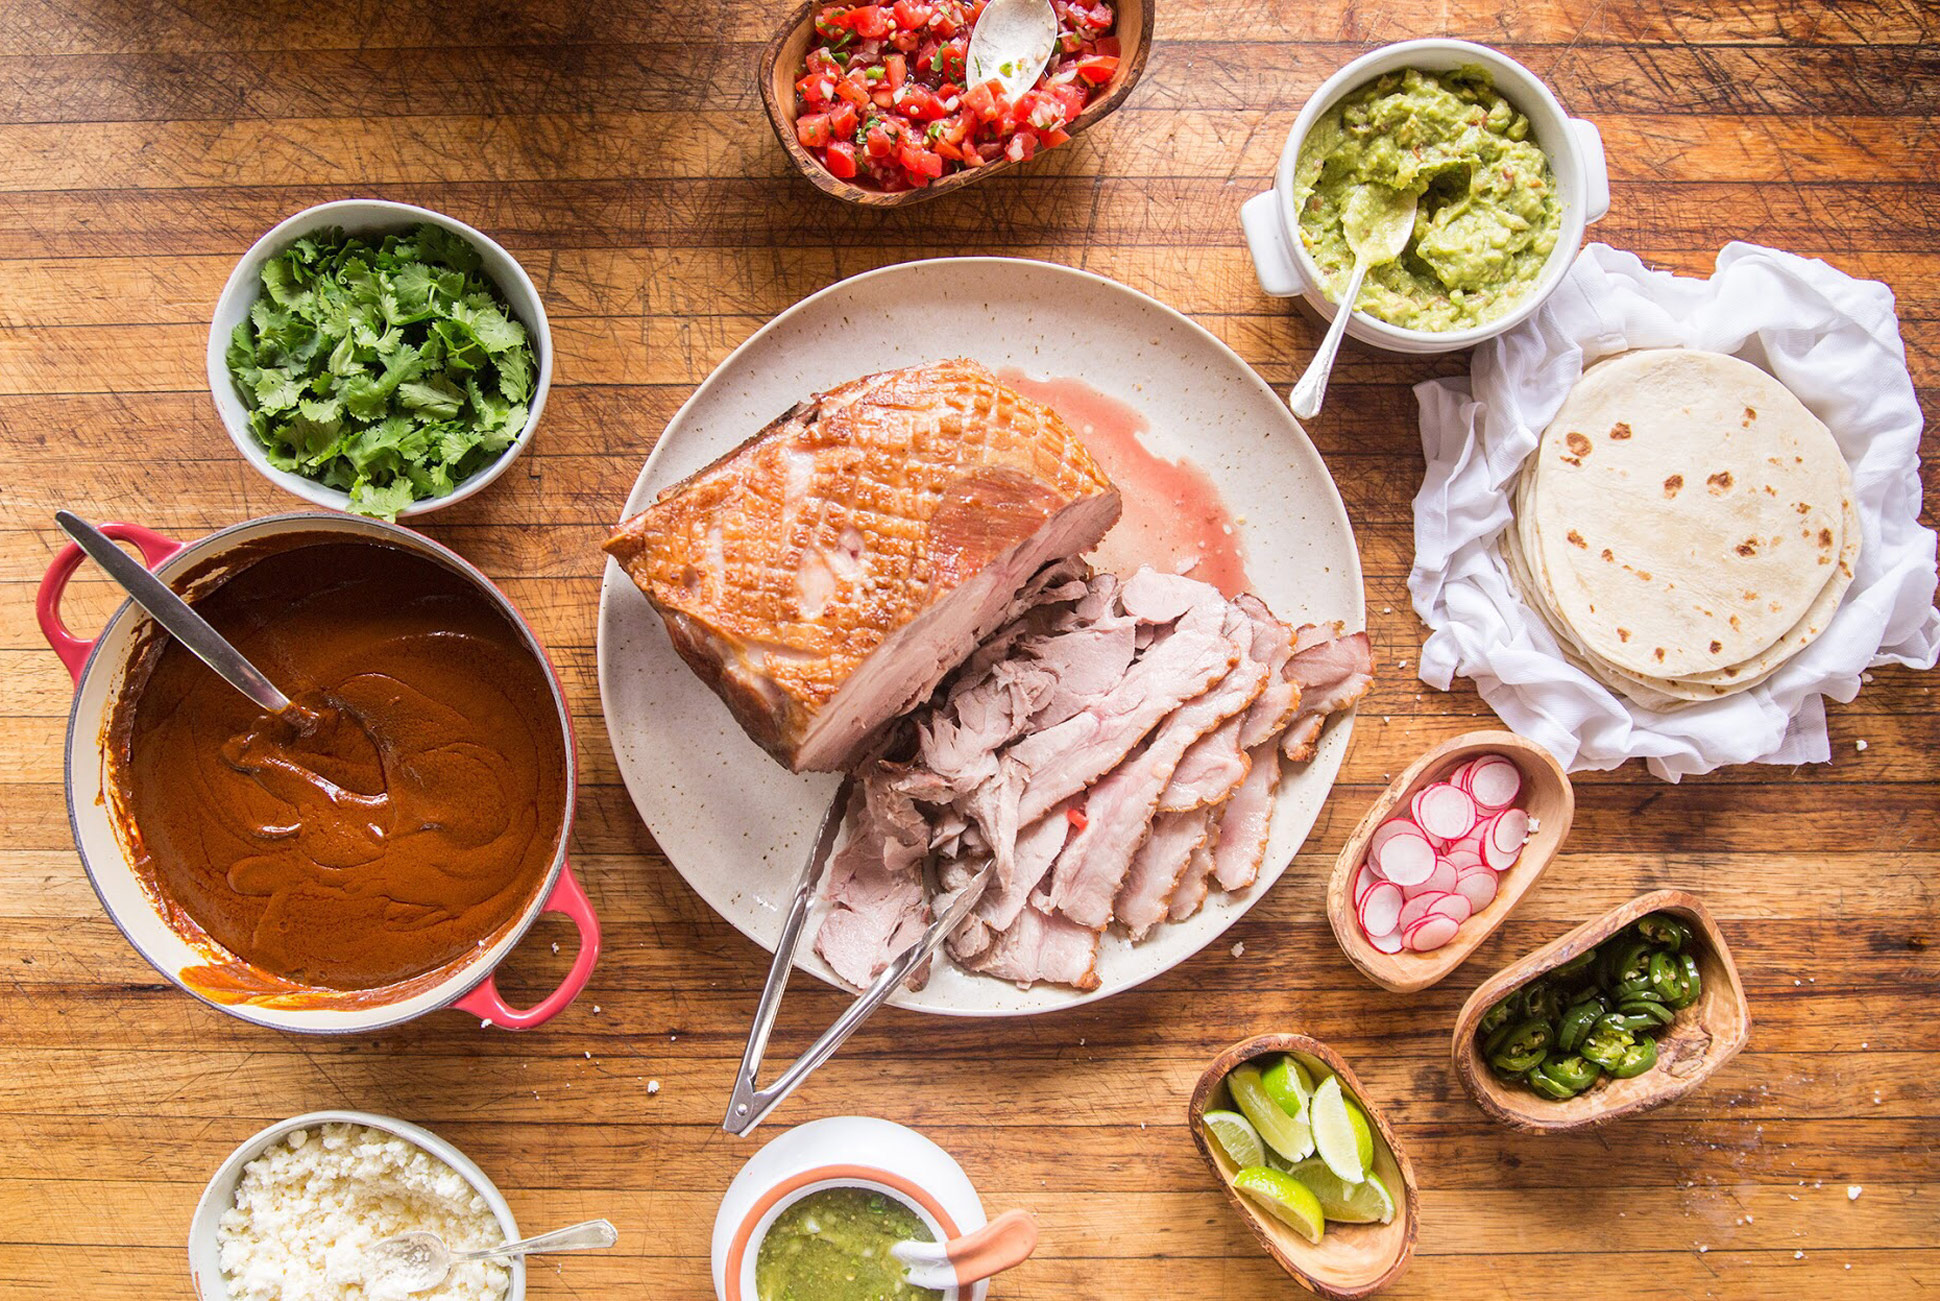
I recently met Gavin at a ChefSteps event that intended to show off different styles of sous-vide cooking — making cocktails, custards, ice cream and more. But what stood out was a very, very brief discussion on preparing very large, very cheap cuts of meat and turning them into something far richer. Like pork shoulder — yes, pork shoulder — the heavy, chewy cut that is the cheapest per-pound option for pork.

“Basically, if you cook it at a low enough temperature for the right amount of time, you can convert all that collagen into gelatin,” Gavin said. “You can come out with a cut that’s basically a much more flavorful, much more tender chop.”
Collagen, for its part, is all the tiny white-colored connective tissue that runs through the muscle and holds everything together. It’s the stuff that makes cheap meat chewy and undesirable.
There are other reasons to sous-vide instead of using an oven for this money-saving purpose — namely, sous-vide circulation provides constant, consistent temperature, where ovens power up and down and lose enormous temperature if the door is opened. Ovens are also a bit nonsensical from an internal temperature perspective, as you’re trying to bring the meat to a temperature in the 140s, but you’re cooking it in the 300s, giving you a very, very small window between under- and over-cooked.
I needed to know if this was all a ruse and I was just being tricked, so I called Gavin and had him lat out the gear that’s needed, and how to do it.
What You’ll Need
ChefSteps Joule
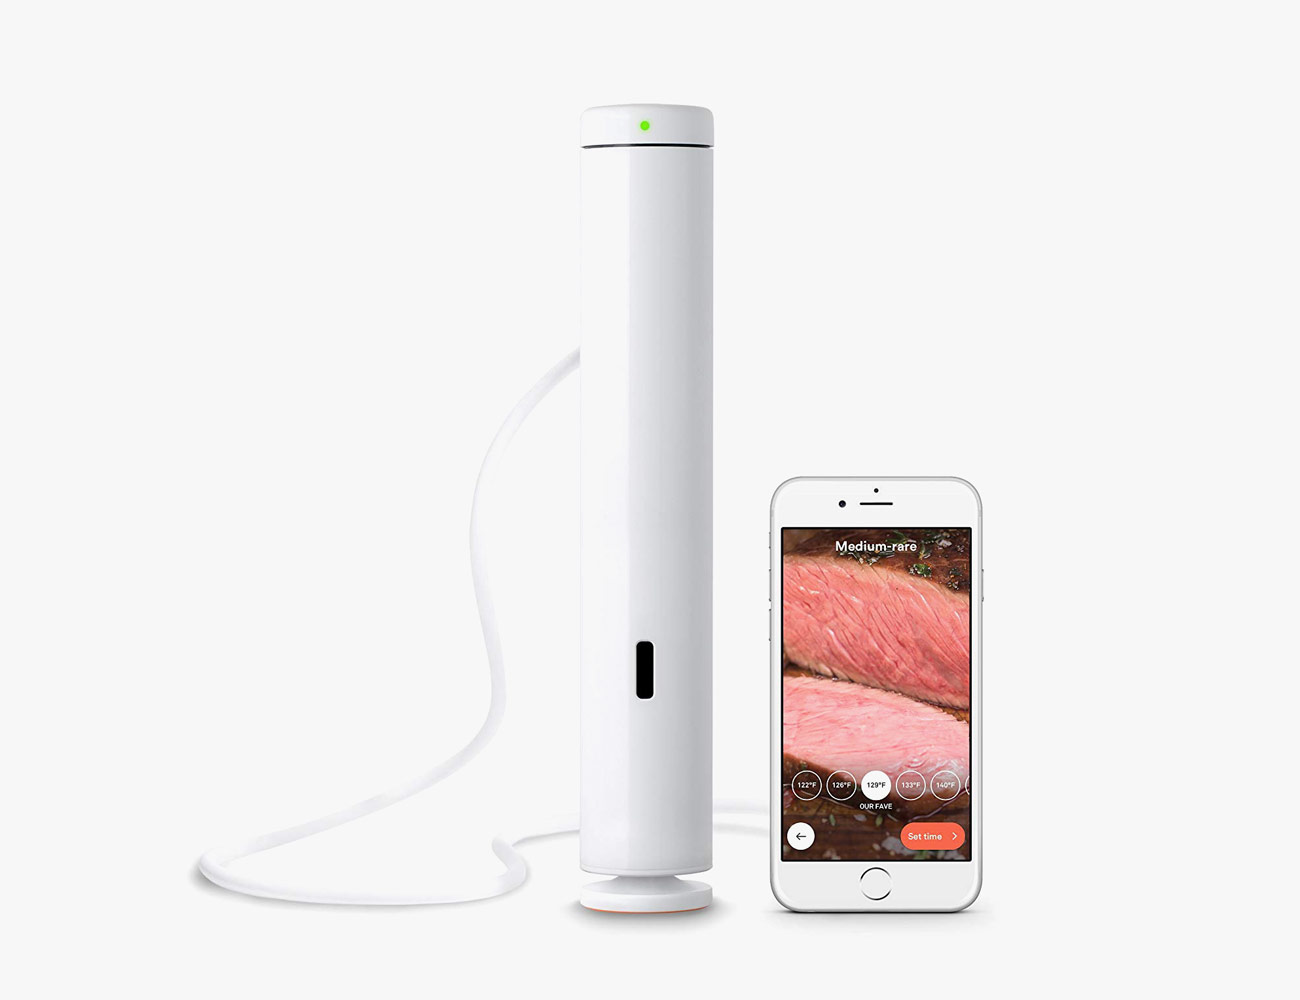
Made by the ChefSteps team, the Joule is the best home sous-vide tool I’ve tested. It’s much more compact than similar products from popular brands like Anova and Polyscience, and brings water to temperature plenty fast. The app permits you complete control over what you’re cooking and provides a real-time feed temperature reading, time spent cooking, time remaining and hundreds of recipes to get your feet wet.
Porter Road Pork Shoulder
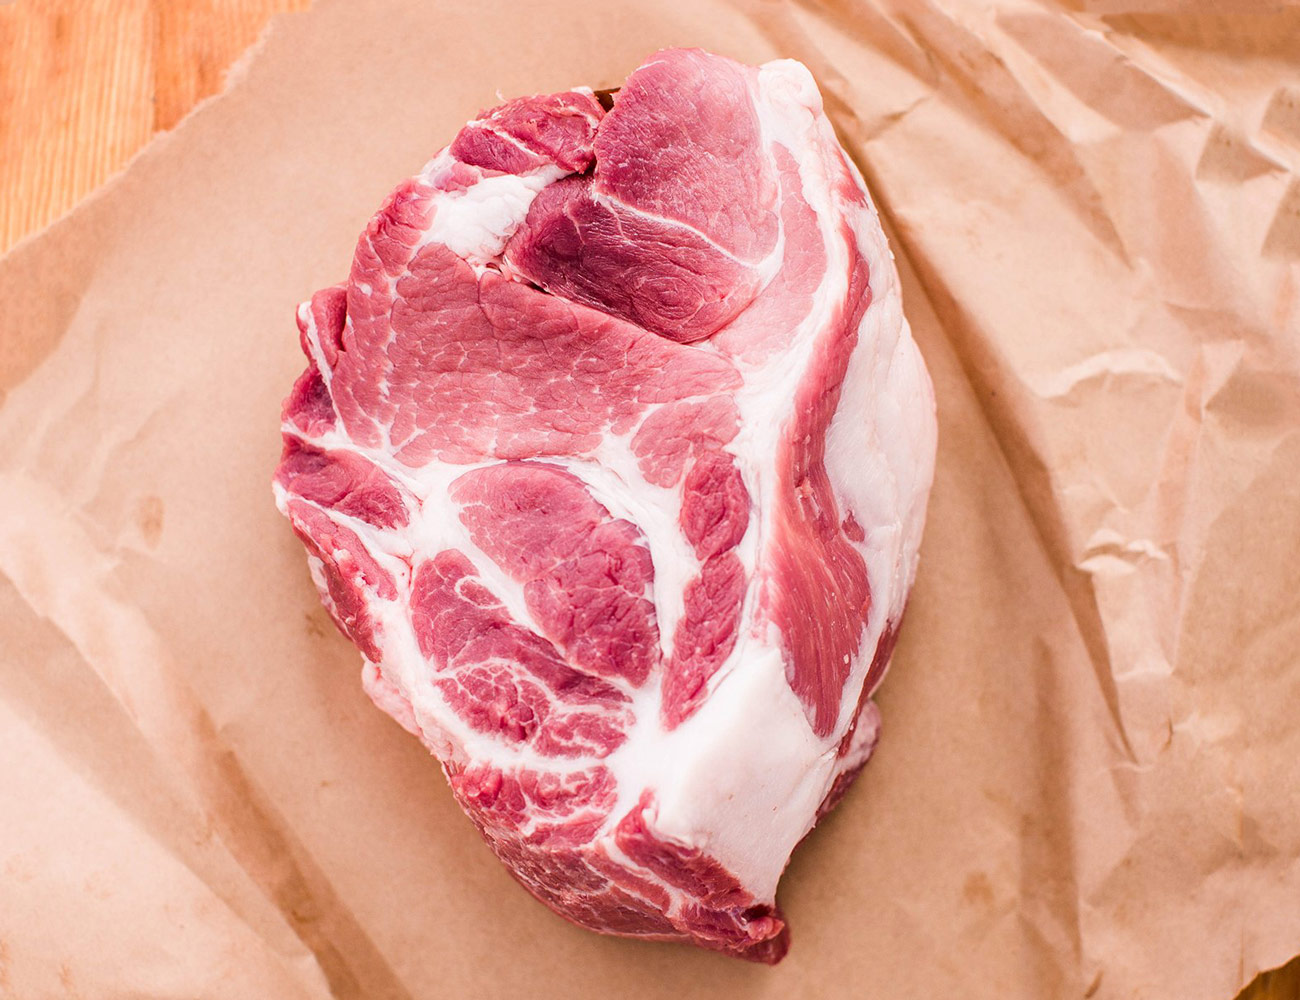
If your situation or mindset demands ultimate frugality, skip this one, as you could very well go to your local grocer and find big cuts of pork for cheaper. What you won’t find, though, are big cuts of pork from responsibly-raised pigs with peak muscle-to-fat balance, and are slaughtered humanely and butchered appropriately. Also, PSA: pork butt is the same thing as pork shoulder. Go figure.
Lodge Cast-Iron Skillet
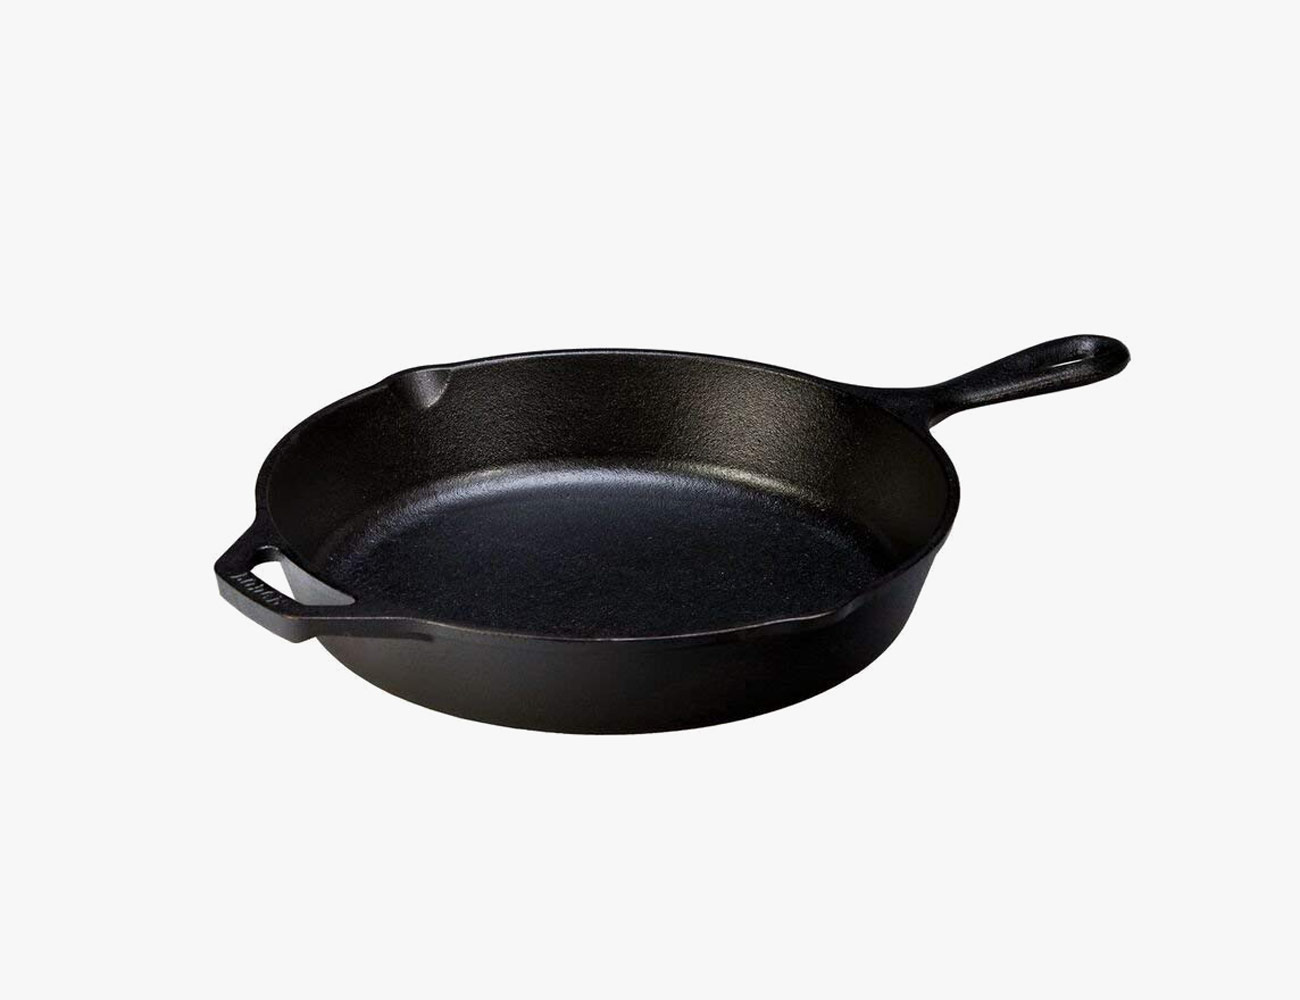
You could get a nicer, more polished cast-iron skillet, but for the purposes of most people, a cheap Lodge will do. The 10.25-inch is recommended if you want to sear about two chops at a time. The price point is hard to beat — just remember to clean it after you’re done with it.
Ziploc Bags
No, you don’t need a vacuum sealer or those super special vacuum-sealable bags. I asked Gavin twice to be sure, and both times he said Ziploc bags will do fine. This set comes with all the sizes you could ever want.
How To Do It

These are guidelines, not an official ChefSteps recipe. Add whatever seasoning or extras you like but stick to the times and temperatures listed here.
1. Prep and pre-heat sous-vide.
Pre-heat your sous-vide to 140 degrees Fahrenheit in a pot or vessel with enough capacity to keep the cut of meat submerged. If you want to add seasoning, coat pork shoulder or butt in the desired seasoning and oil. Place the meat in a sealable bag.
2. Cook for 24 hours.
Allow the meat to rest in the pot for 24 hours with the sous-vide on. Ensure it is fully submerged, and check the pot regularly as you’ll need to add water as it steams off.
3. Pre-portion into steaks, then freeze.
Remove the meat from the water bath and allow it to cool at room temperature for an hour. Then, remove it from the bag, and cut into chop-sized portions. Place chops in individual re-sealable baggies and freeze.
4. Reheat meat.
Reheating can be done in the sink or the microwave, but Gavin says reheating using the sous-vide tool itself is quicker than the sink, and less destructive to the meat than the microwave. Charts can be found online, or just use ChefSteps very informative guide on the subject.
5. Sear the chops and enjoy.
Heat a cast-iron skillet all the way through (about 10 minutes). Once heated, apply oil to the skillet and place meat into the skillet to sear. Keep in skillet on each side only long enough to reach desired sear. Alternatively, use a kitchen torch to scorch the surface of the meat and create a crust.