We Tried Road Tubeless Tires, and We’re Never Going Back
Tubeless tire technology is nothing new. In fact, it’s been industry-standard in the mountain bike world for a while now. It’s taken the road cycling industry longer to embrace the upgrade, but companies are finally taking the hint and producing wheels, tires and accessories aimed specifically at tubeless-curious riders.
As a lifelong mountain biker, it always amazed me that road cyclists stuck with tubes. Everything about them is a pain — pinch flats, extra weight, greater rotational mass. The upsides on a tubeless setup are tremendous: lighter, able to run at lower pressures (more comfort and control), less rotational mass and fewer flats. The biggest roadblock in the switch to road tubeless seems to be the setup, which takes some time and practice and can be a bit of a pain.
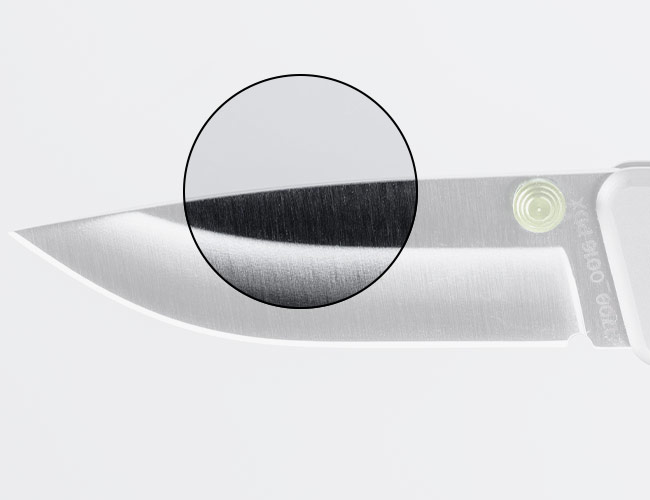
I recently decided to switch to road tubeless and did a ton of research before I did on how to set it up. My reason for making the switch was the promise of increased comfort and a lighter setup (I was also in search of a wider tire for decreased rolling resistance). On paper it sounds fairly simple: Tape the wheel with tubeless wheel tape making sure there are no bubbles; poke the tubeless valve stem through the tape; set one bead of the tire on the wheel; set the other bead of the tire on the wheel; use a compressor or piggyback pump to set the beads and inflate to around 60psi (you’ll hear some popping sounds while you do this); deflate the tire and remove the valve core; pour recommended amount of sealant into the tire through valve core; reinstall valve core and inflate the tire to 60psi; spin the tire so the sealant coats the inside and seals any gaps; go ride. Well, relatively simple anyway.

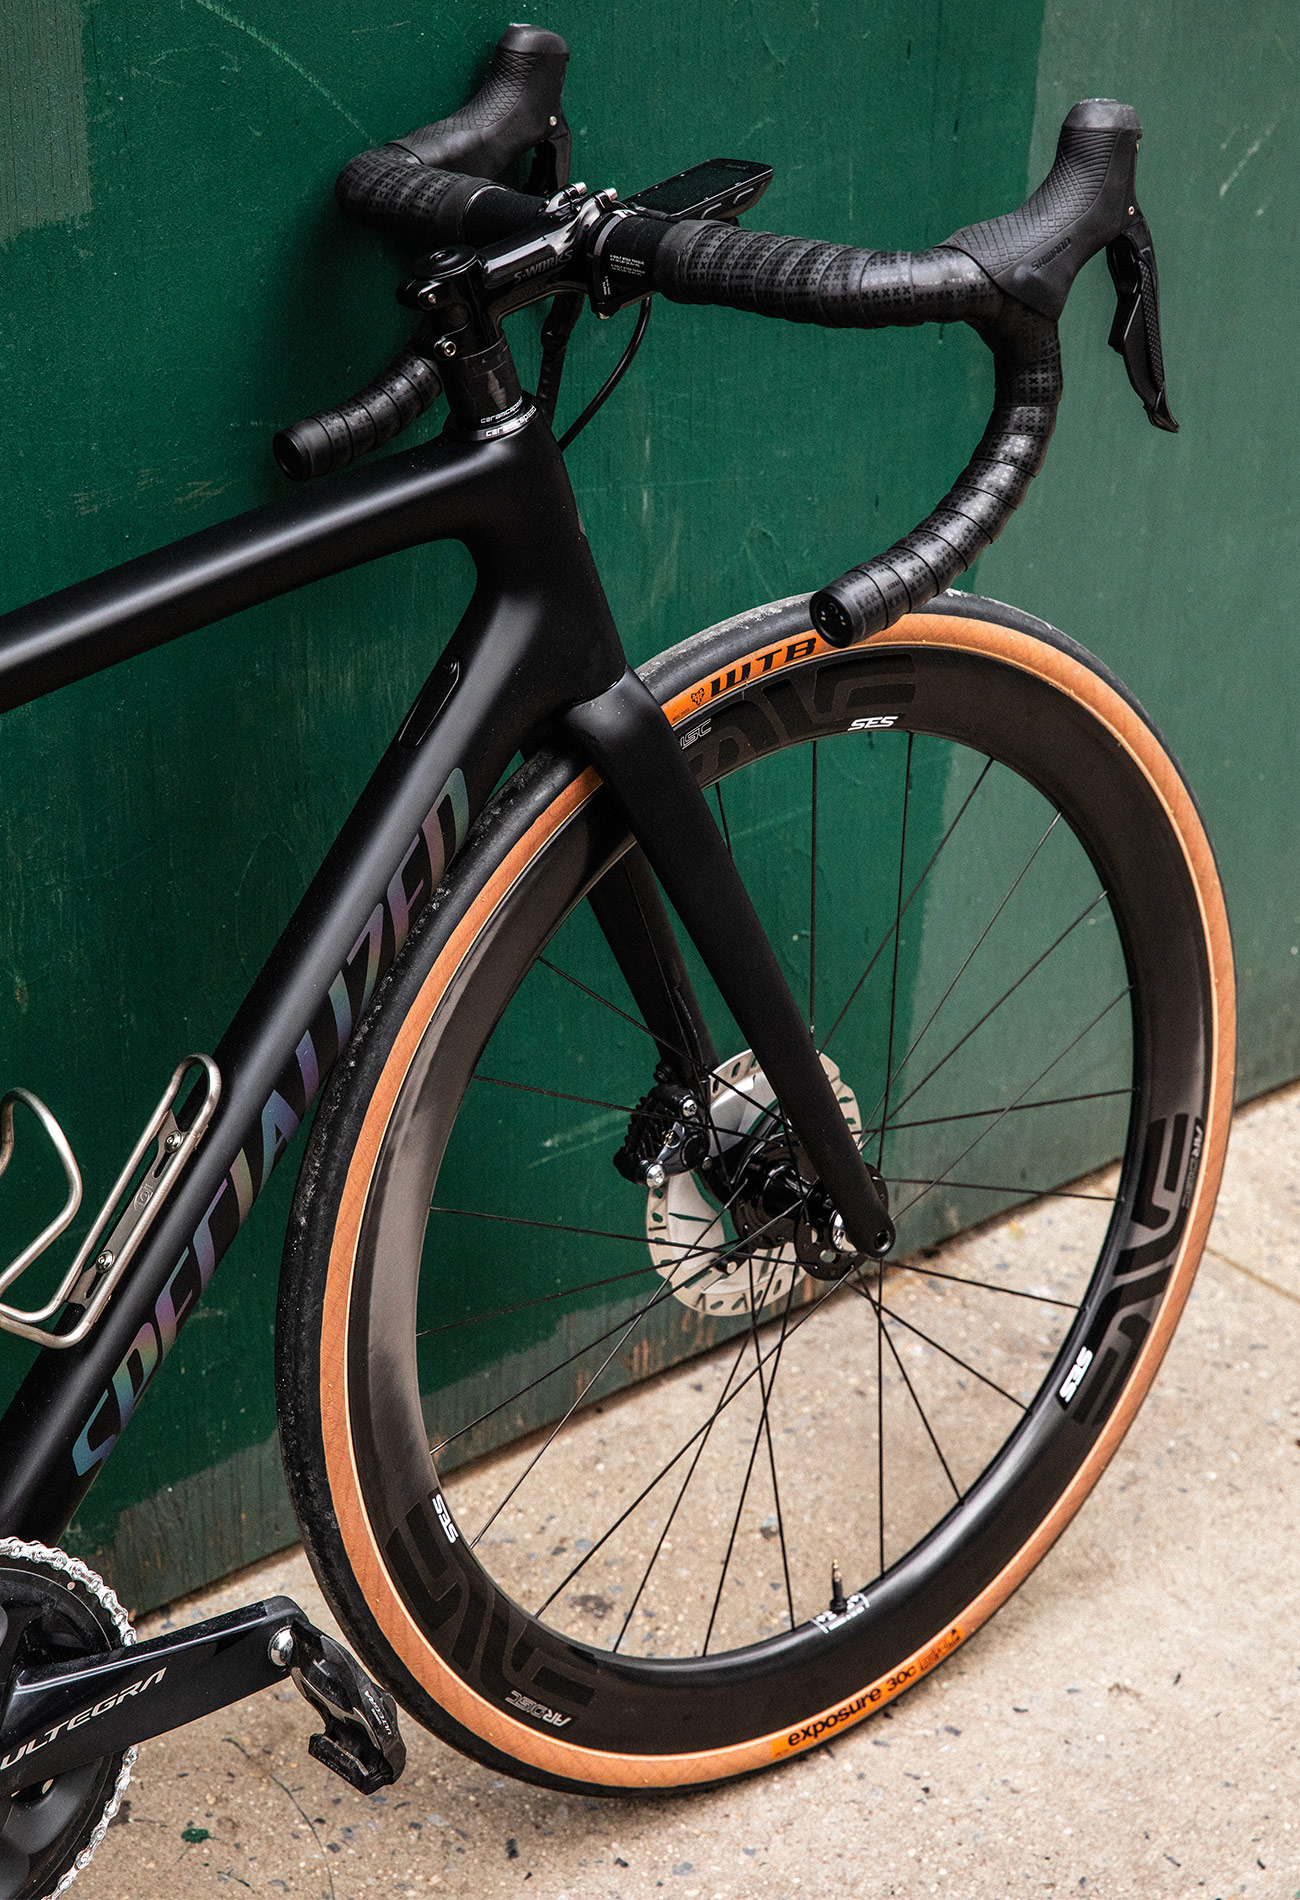
Photo: Hunter D. Kelley
That’s all well and good, but the truth is that the process will take you a couple of tries. It took me three tries until I eventually gave up and left it to the professionals (it took them a further three tries to get the wheel to seal). It’s not a perfect science, but the hassle is worth it. The ride is supple and supremely comfortable. It’s immediately noticeable. There’s more grip in the corners, and while it may seem counter-intuitive, running your tire at a lower pressure actually decreases rolling resistance, making you faster. I also found myself seeking out rougher roads and straying from my usual road loop with more confidence than with my typical setup. I chose both wheels and tires that can handle some gravel jaunts, but can still keep up on the pavement.
Of course, road tubeless isn’t for everyone. You may be perfectly happy with your tubes, and that’s OK. But for those seeking a faster, lighter and more comfortable ride, tubeless is a no-brainer. Sure, setup can be a hassle — but it’s worth it. If you endeavor to try road tubeless for yourself, here’s everything you need to make it happen.
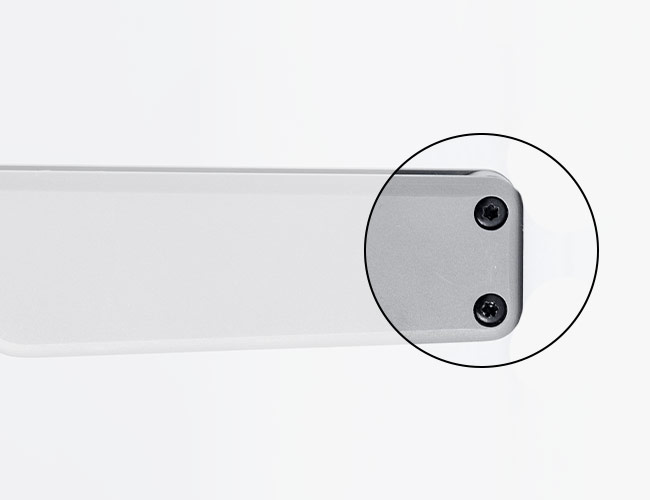
ENVE SES 4.5 AR
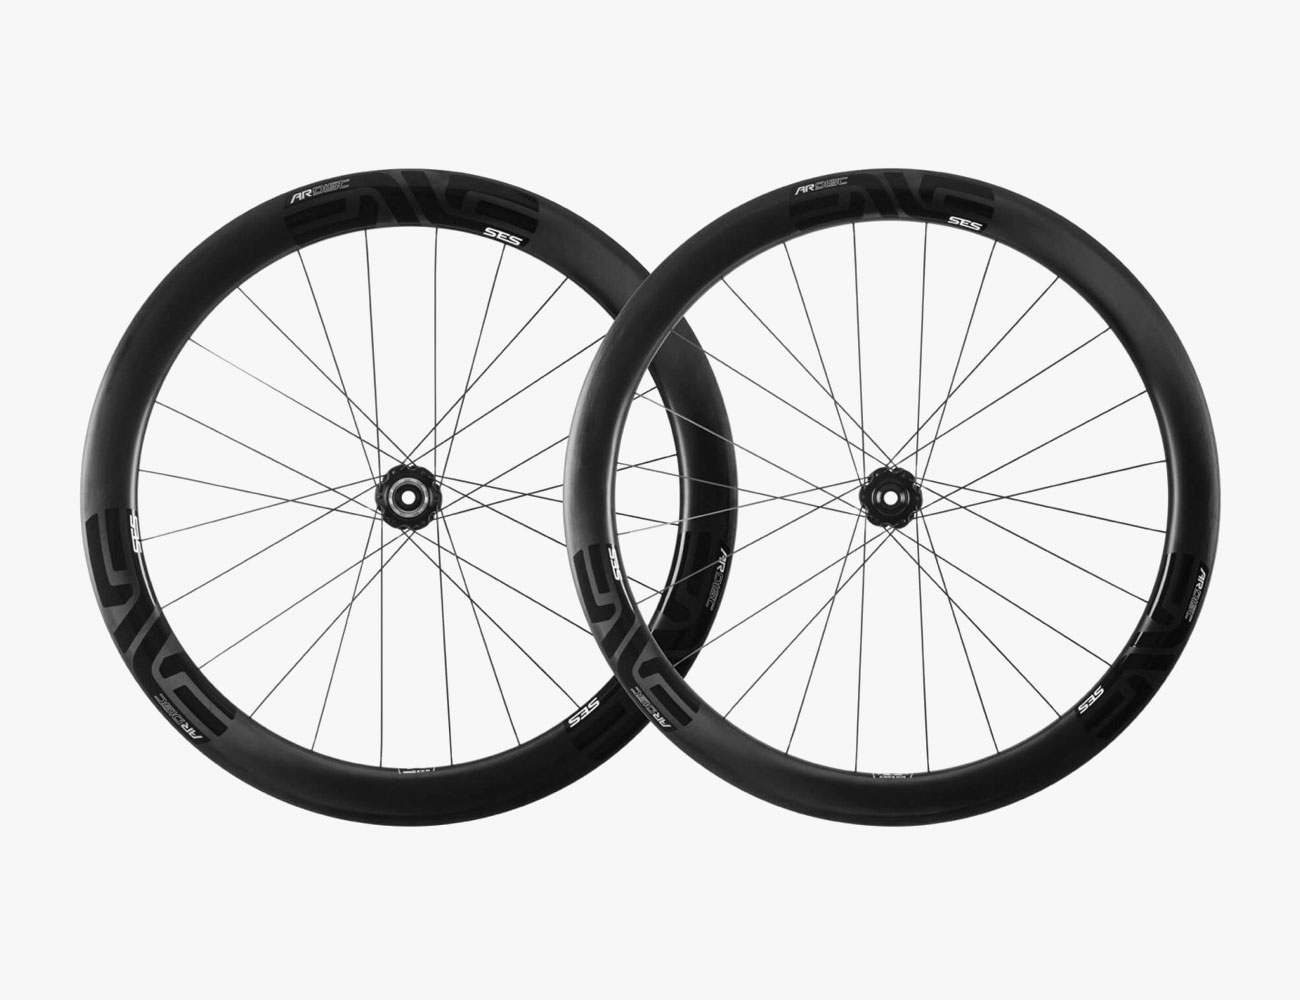
ENVE’s SES 4.5 AR disc wheel is specifically designed to be run with a tubeless tire. It’s stiff and compliant at the same time and offers some of the best ride quality available. Simply put, there’s a reason everyone wants ENVE wheels — the hype is real.
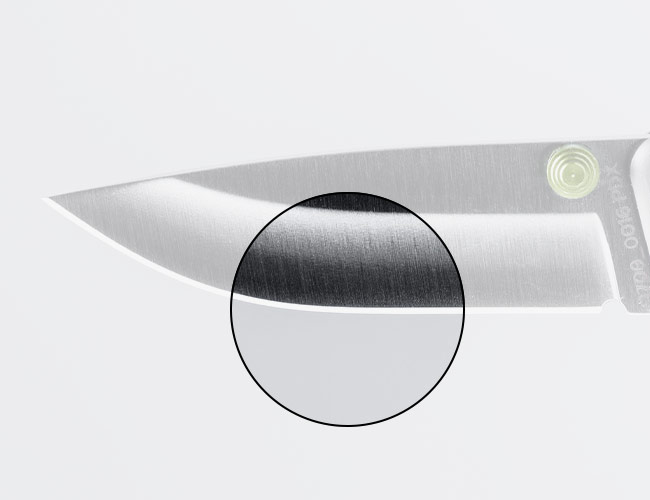
WTB Exposure 30
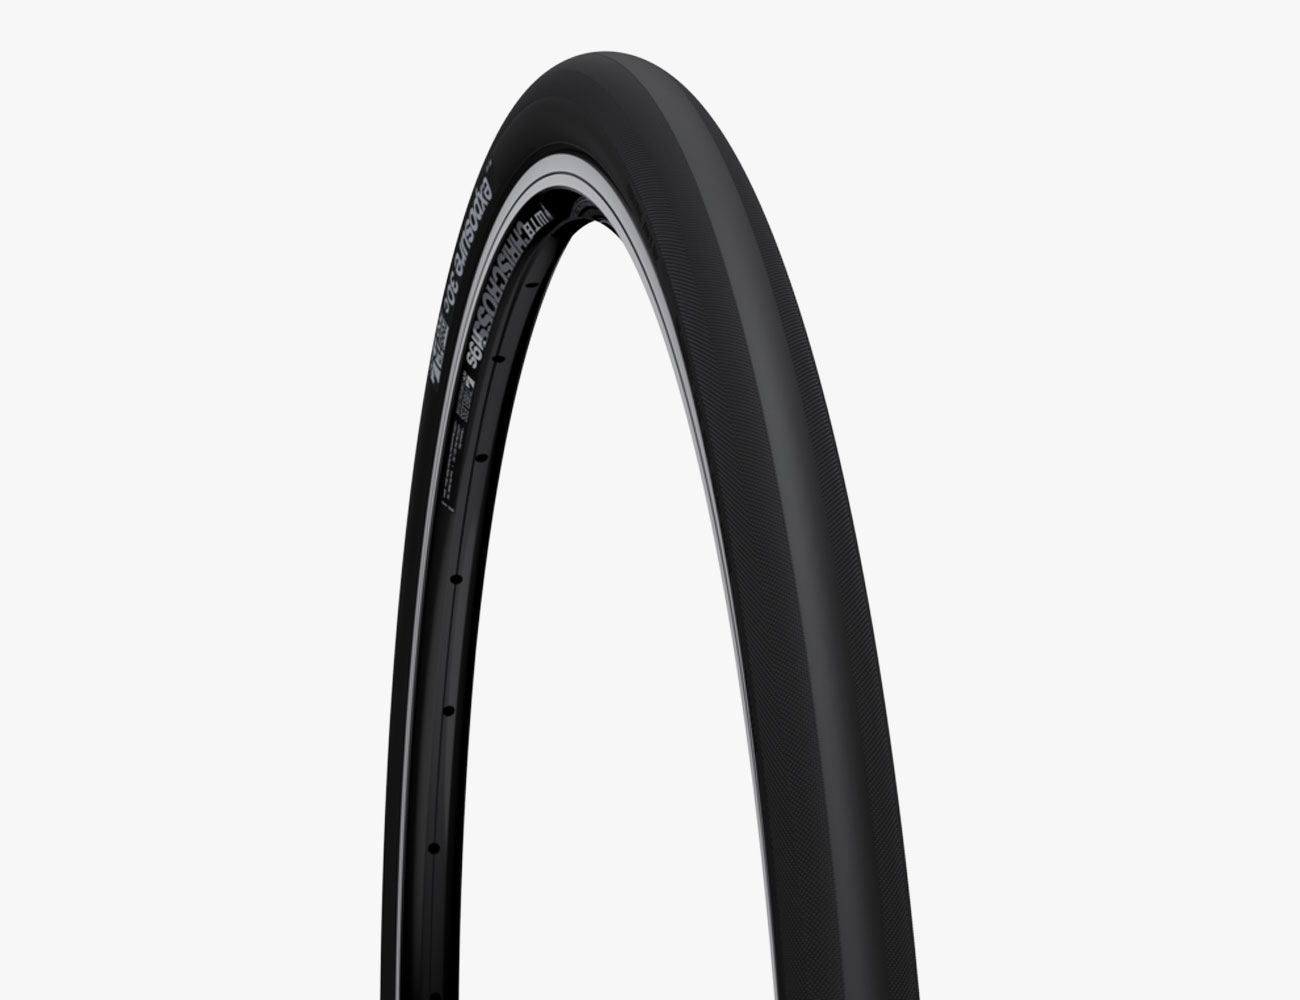
WTB’s Exposure 30 is one of the few tan sidewall, tubeless-compatible tires. In fact, in our extensive research, it’s the only tubeless-specific tire that has tan sidewalls and is available in a 30. It’s supple and provides a shocking amount of grip in a variety of conditions. They are a touch heavy at 310g per tire, but the comfort and durability they offer are worth the small weight penalty.
Orange Seal Endurance Tire Sealant
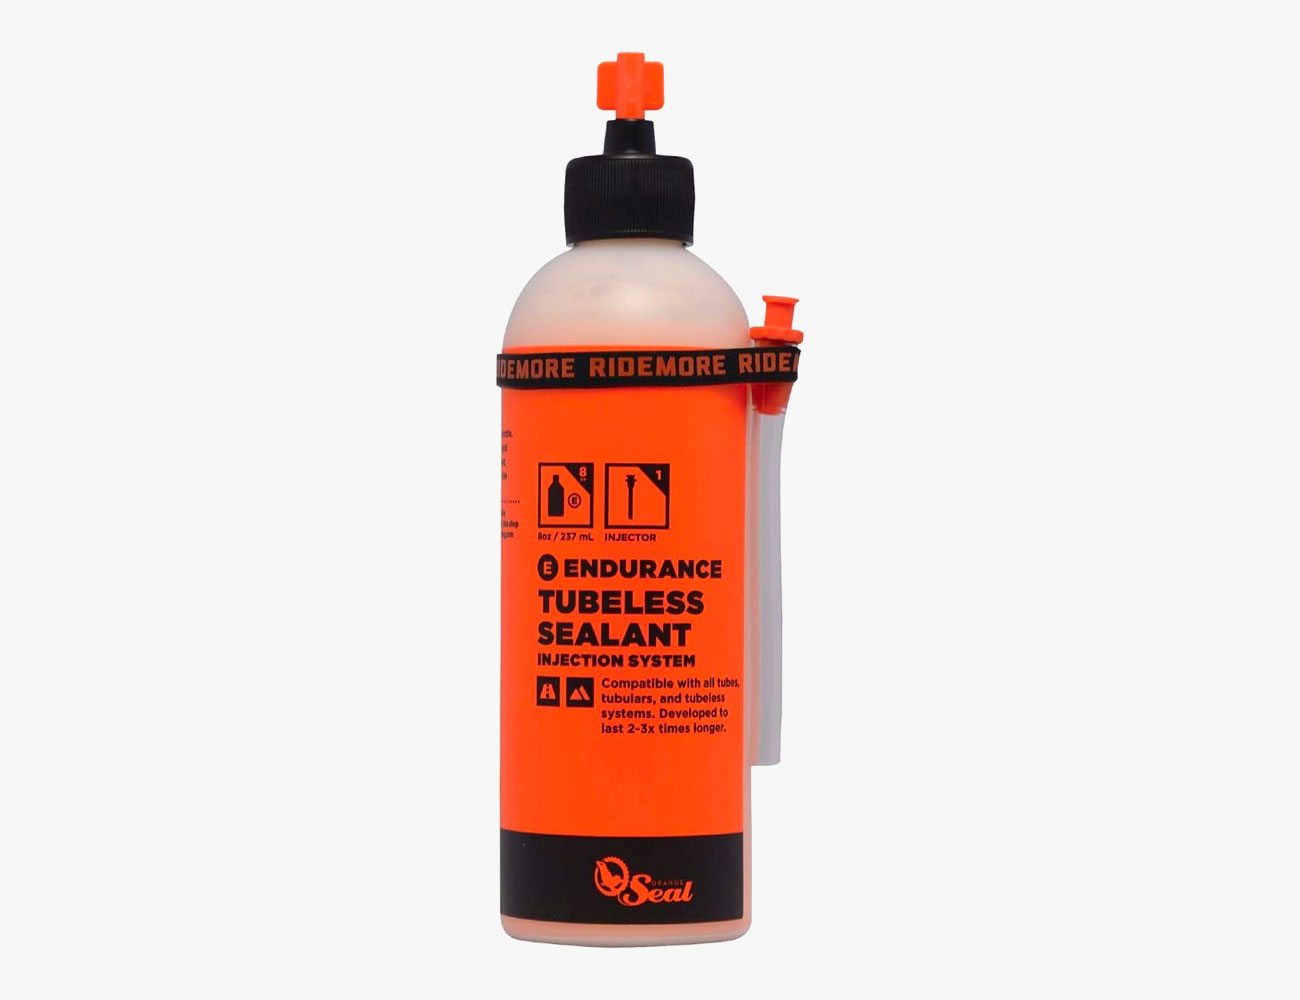
There are a few tire sealant brands available, but we’re partial to Orange Seal’s Endurance Sealant. The Endurance version of Orange Seal is designed to last longer (sealant will eventually dry out) and will seal up the smaller punctures that you might encounter on a road bike. It also weighs less than Orange Seal’s regular line of sealant, and that’s a good thing.
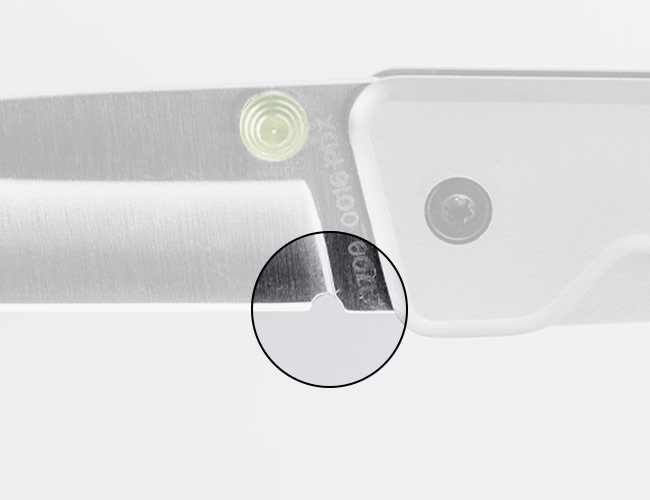
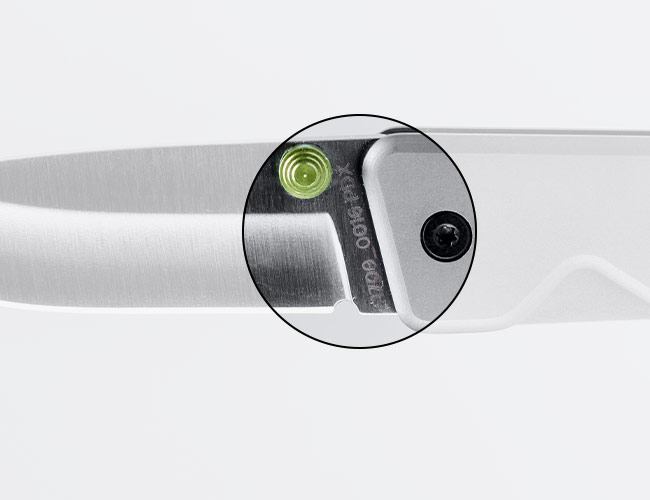
ENVE Road and Gravel Tubeless Kit
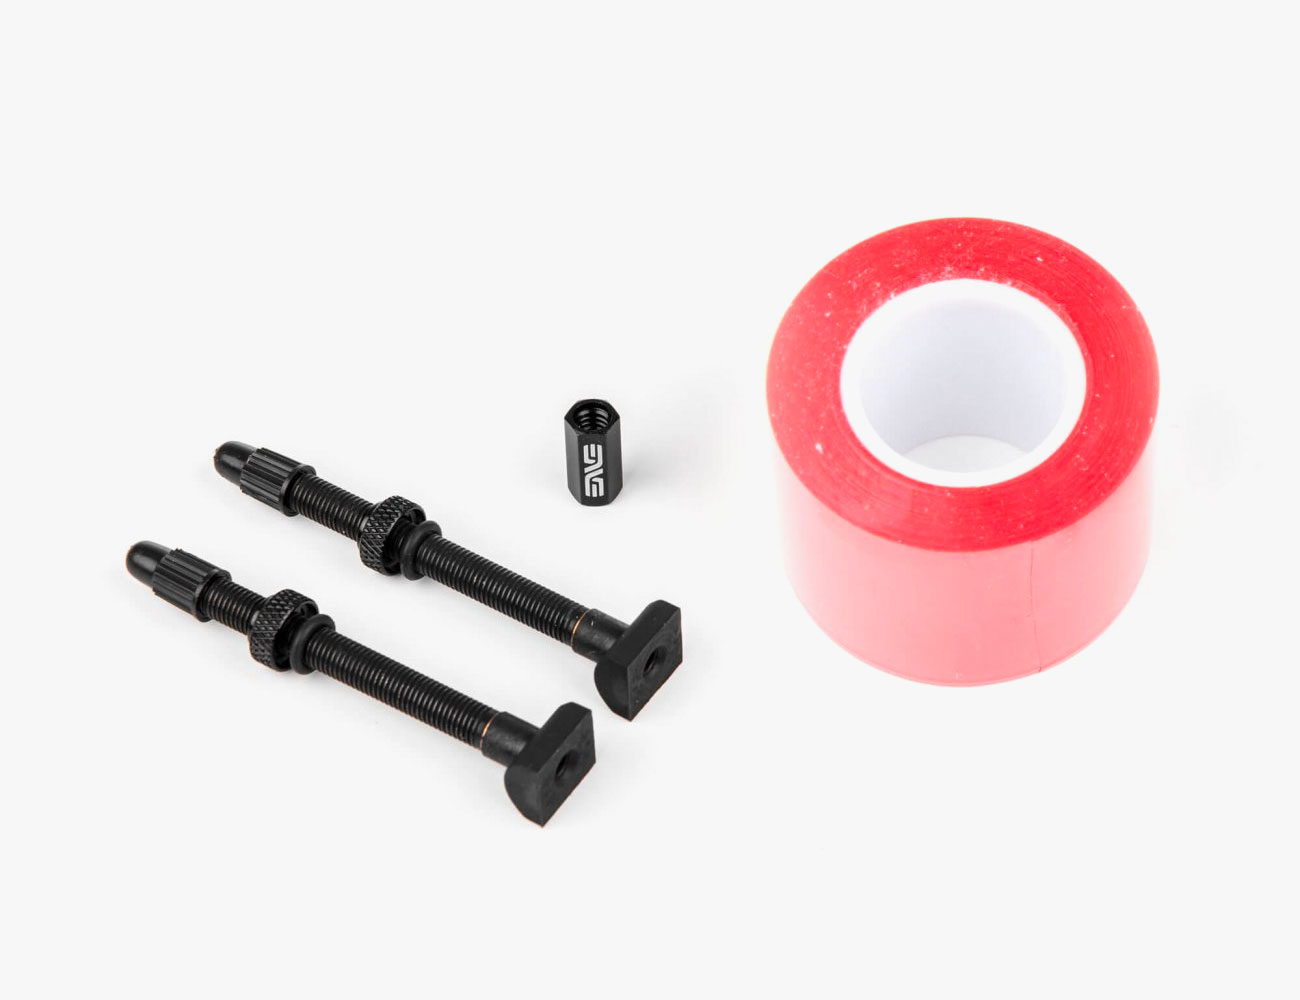
You’ll need ENVE’s Tubeless Kit for setup, which includes tubeless wheel tape, two tubeless valves (that fit the SES 4.5 AR without the need for valve extenders) and a valve core removal tool.
Lezyne Digital Pressure Overdrive Floor Pump
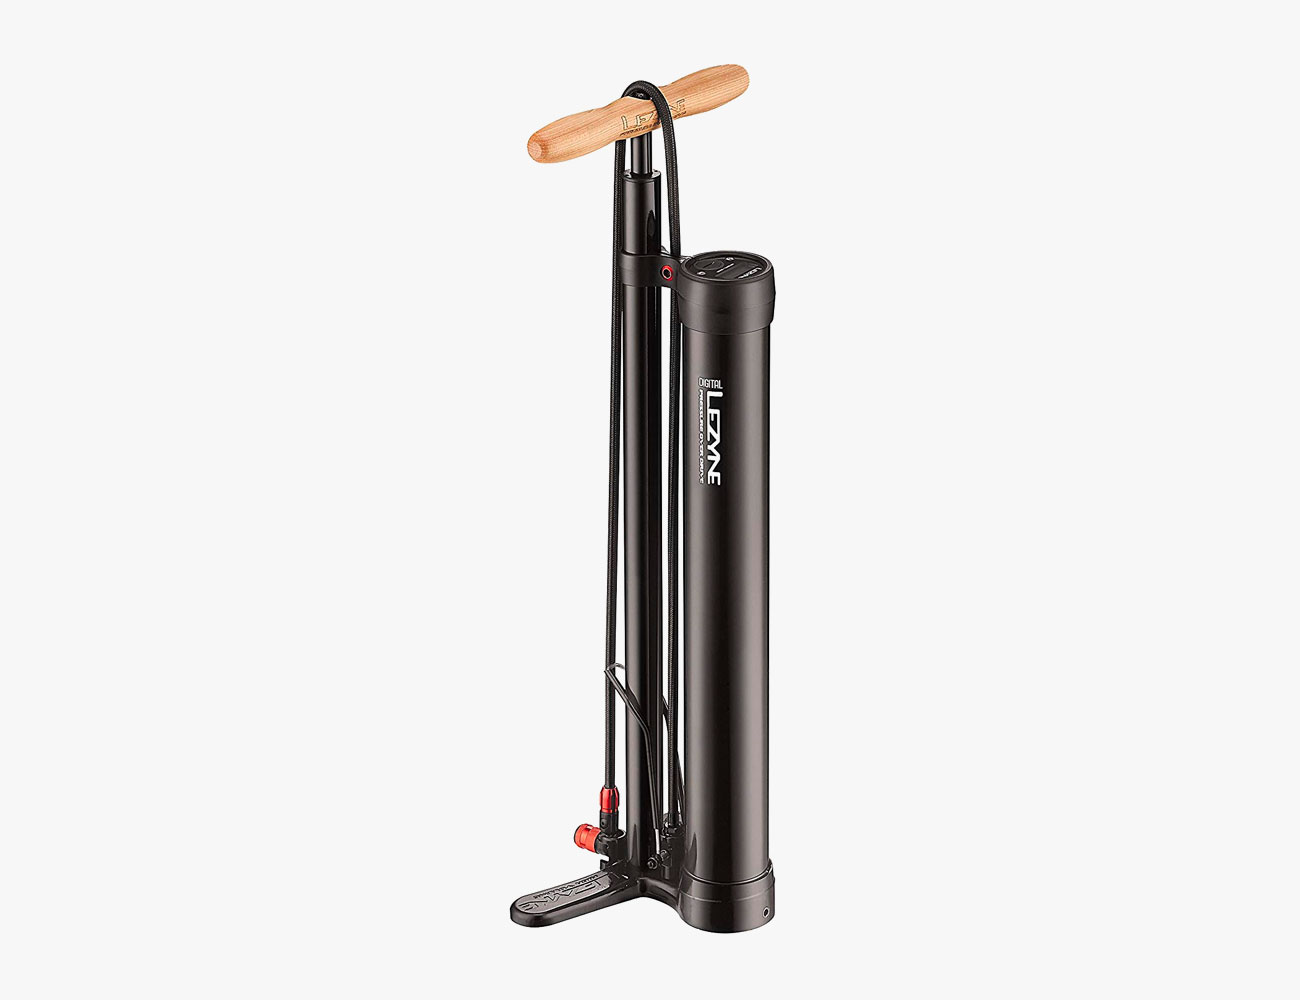
With a tubeless setup, you’ll likely be playing around with different tire pressures more than you would with a standard setup. For this, a floor pump with a digital gauge will give you the most accurate reading. Lezyne’s Digital Pressure Overdrive pump also has a piggyback chamber that can be pressurized up to 200psi. The pump then works in essentially the same way as an air compressor, helping seat a tubeless tire quickly and efficiently.