<!–
A version of this article originally appeared in Gear Patrol Magazine with the headline “Make an Energy Bar.” Subscribe today
Let it be known that the author of this story is no kitchen whiz. But it seemed only fair to try out this particular DIY jam to make sure it’s legit. And I’m happy to say that making your own energy bars from scratch is pretty much a breeze (as evidenced by the product of my labors, pictured above, before being devoured by GP staff.) Just procure quality ingredients and follow the simple steps below from Kate Schade, founder of Kate’s Real Food and hand-rolled bar-making boss.
Her pro tip? “Vary portion size for more refueling options later.” My not-so-pro tip? If you’re using chocolate chips or chunks (and you admire their texture), give the rest of the mix time to cool before stirring them in — otherwise they’re likely to melt.

1. Pantry raid
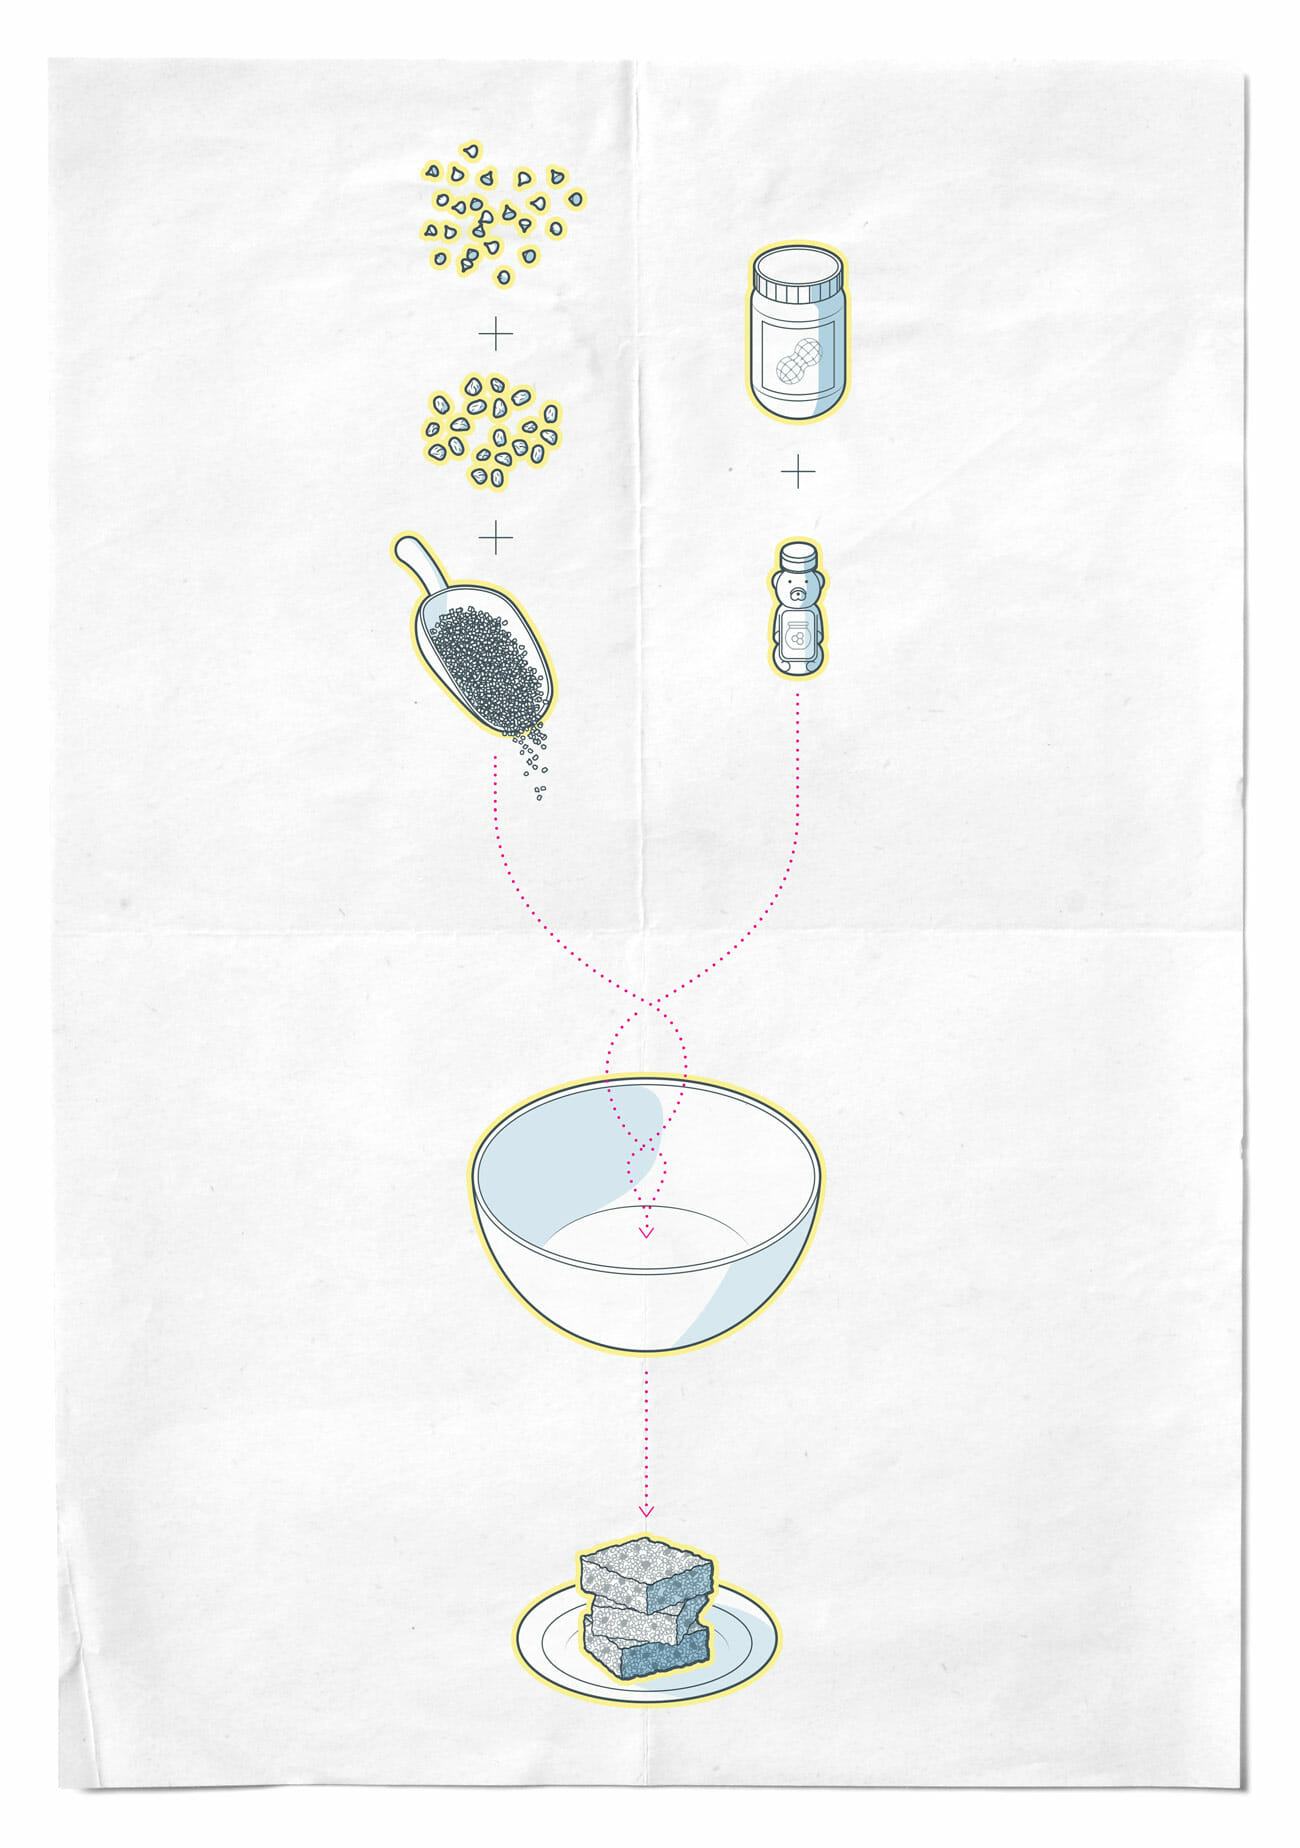
You’ll need honey, peanut butter and a mix of dry items to form the base — a mixture of organic raw oats, dark or milk chocolate chunks, and raisins is a good start.
2. Melt ’n’ mix
Place peanut butter and honey in a saucepan over medium heat and stir together until soft and runny. Meanwhile, mix together dry ingredients.
3. Remix time
Add peanut butter and honey mixture to dry ingredients and stir to evenly combine.
4. Play with your food
Using your hands, form the mixture into whatever basic shapes you like. Refrigerate overnight on a nonstick surface and you’ll have delicious and energy-dense workout fuel in time for breakfast.
Note: Purchasing products through our links may earn us a portion of the sale, which supports our editorial team’s mission. Learn more here.
<!–
–>