
I get it. Your laptop already has its own keyboard attached. The computer at the office came with a flat little keyboard for you to use and it works just fine. Why would you want to spend potentially hundreds of dollars to replace something you already have and which works fine?
A mechanical keyboard isn’t strictly better than what you already have on your desk. It can’t instantly make you a better or faster typist. But the draw of mechanical keyboards isn’t about functionality or efficiency. These keyboards just feel better. They look cooler. You can trick them out in your own style. Because the device you surely use for so much of your working day should be more than just a tool. It should be a source of pleasure. Every cubicle keyboardist at least deserves the joy of finding the perfect weapon of choice and wielding it every day.
Mechanical Keyboards 101
The Budget Starter: Qisan Magicforce 68

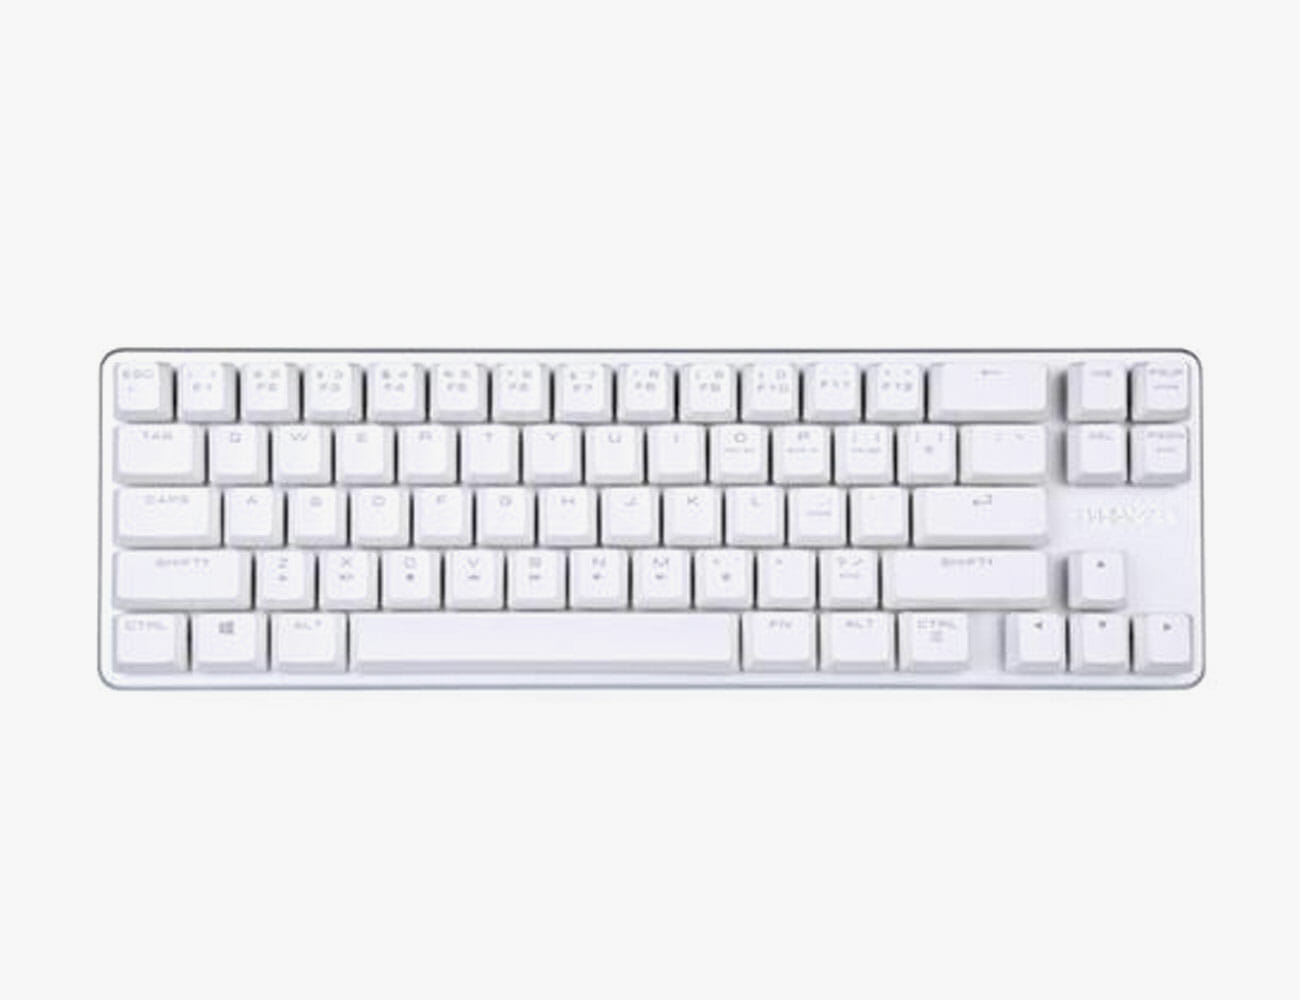
If you’re really on the fence, the Qisan Magicforce 68 is the keyboard for you. Chinese made, these boards are extremely cheap but punch well above their weight. Prices tend to fluctuate over time, as well as from model to model depending on what color and switches you’d like. But if you’re looking to get in on the cheap, there’s no better entry point. The best part about getting a cheap board for your first time out? It’s a great excuse to spring for something expensive the next time around once you have a handle on what it is you actually like.
The Upgrade Pick: Drop ALT
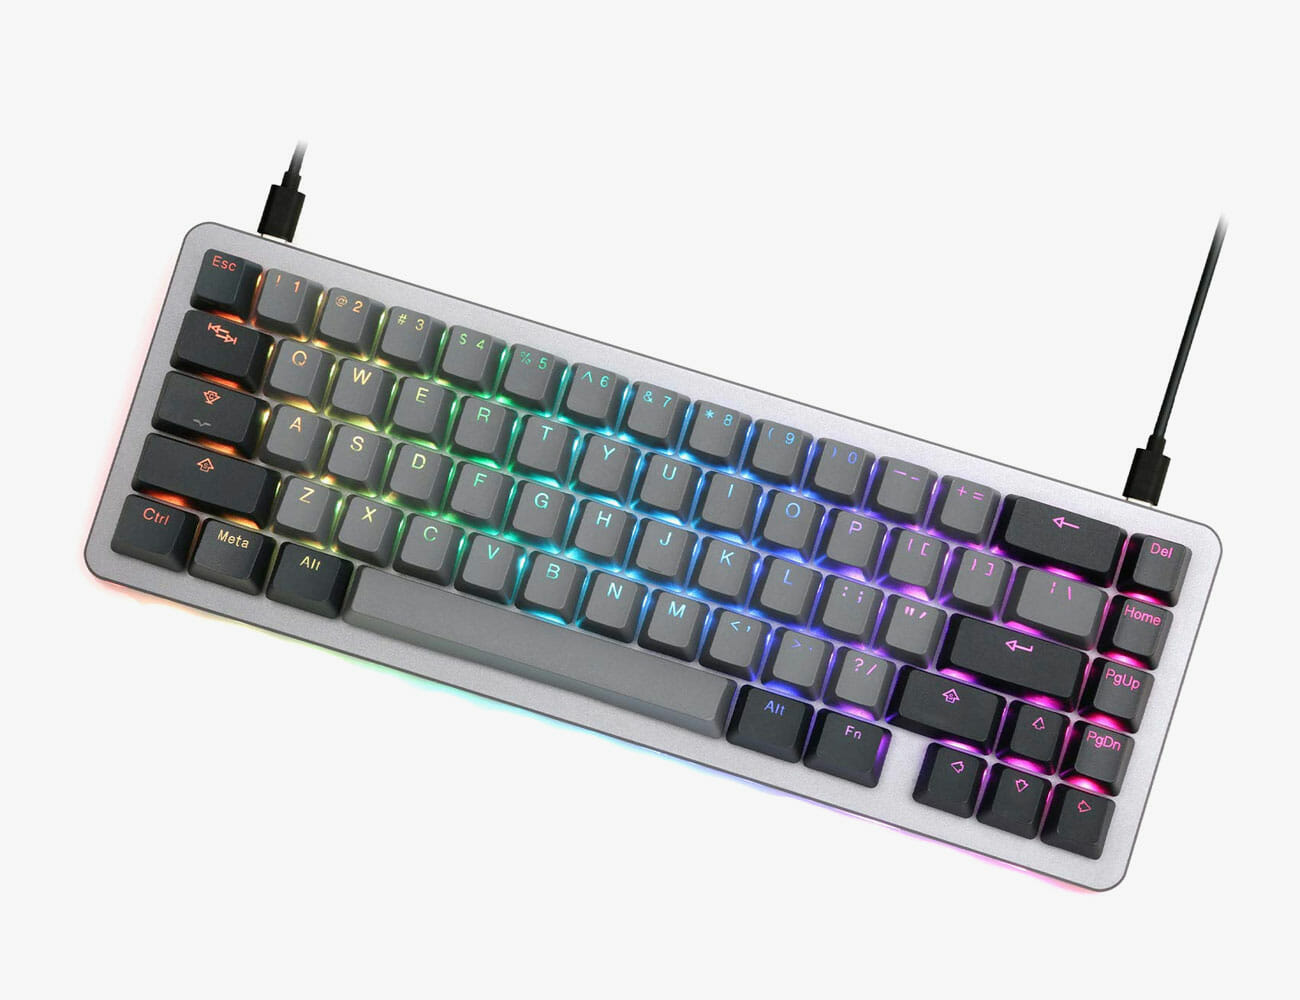
The Massdrop ALT is admittedly a bit expensive, but there is a good reason to shell out: it is, in a manner of speaking, an infinite number of keyboards at once. Most mechanical keyboards have switches that are permanently soldered in, so if you want to try a new kind of switch, you’ll have to buy a new keyboard that has them. The ALT, on the other hand, has “hot-swap switch sockets,” which means that you can replace both they keycaps and the switches with ease. That means that if you decide you want to try a new flavor of switches, all you have to do is buy a handful from a wholesaler and install them yourself, saving you a lot of money and space versus buying more keyboards. Its 65 percent design is also, to my mind, the perfect layout, though the larger and more expensive Massdrop CTRL can give you a tenkeyless option.
Made-to-Order: Custom WASD Keyboards
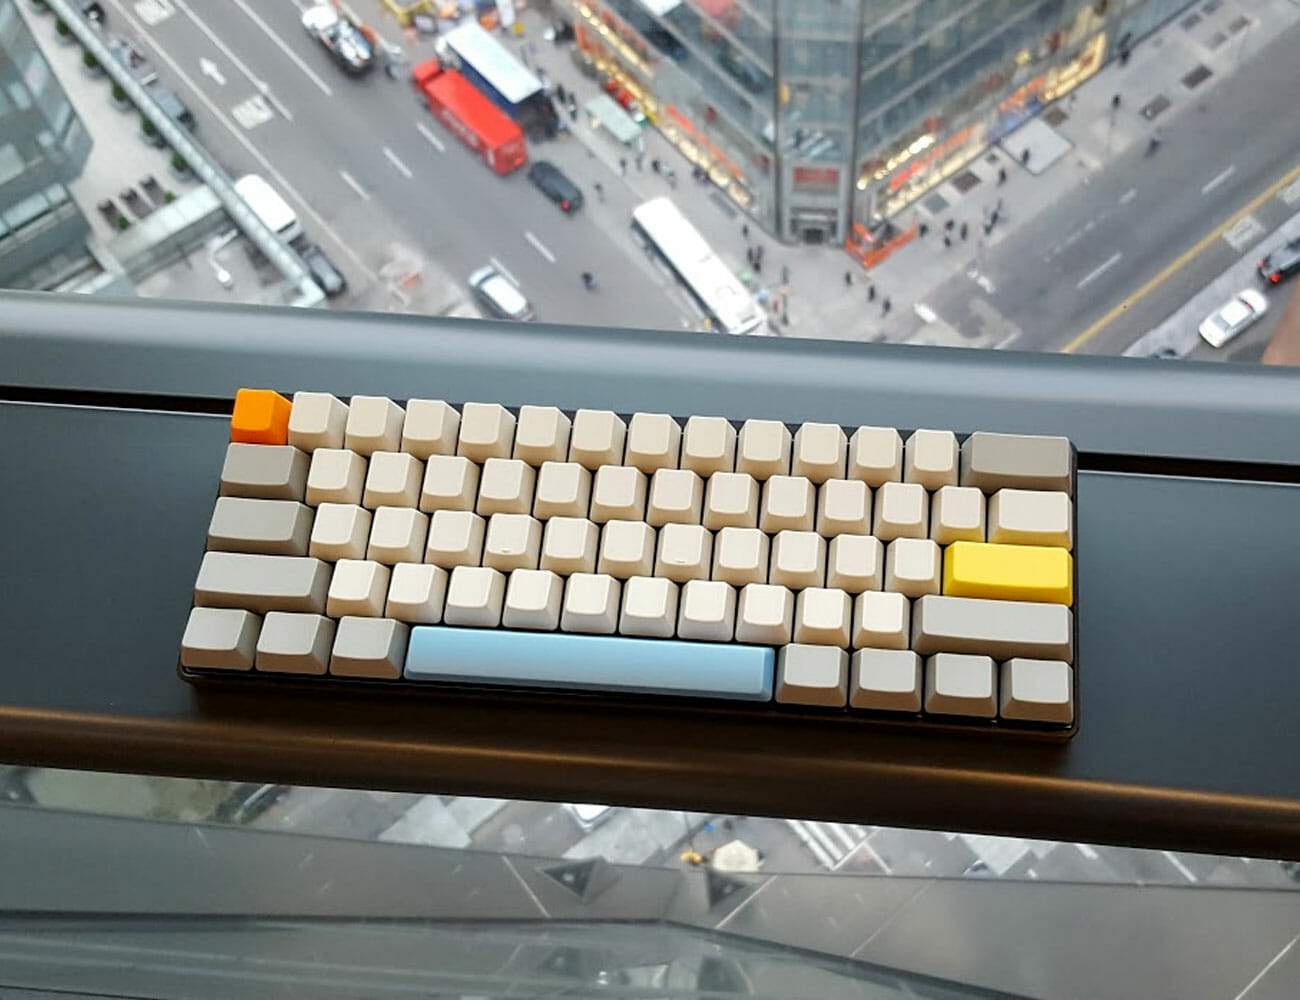
A slightly cheaper but still terrific option is a custom keyboard from WASD Keyboards. WASD offers full-size, ten keyless, and 60 percent sizes, along with the most popular flavors of switch, and case colors of black and white. But the best part is that these keyboards come with custom caps that you can design down to the individual key. While these caps are far from the highest quality and may show signs of wear pretty quickly if they feature printed legends, they are a terrific way to get your first taste of how addictively fun it is to trick out your own custom board. My very first mechanical keyboard (that’s it, right up there) was a 60 percent from WASD with brown switches, though if I could go back in time, I’d opt for a tenkeyless with clears instead.
Protip: Don’t pick an ISO layout with the big weird enter key. That makes finding custom keysets that fit your board much, much harder.
Mechanical Keyboards 101
Selecting Switches
If you don’t know much about the keyboard that’s currently on your desk, it’s almost certainly what’s known as a “membrane” keyboard. These contain within them a layer of flexible rubber domes — almost like a layer of bubble wrap — between the keycaps you press with your fingers and the electronics underneath which send an electric signal to your computer. These domes are what give your keyboard that “snap” (at best) or “mush” (at worst), when you press the keys.
Mechanical keyboards, by contrast, have a discrete plastic mechanism under each key. These tiny devices, the switches, are what give a mechanical keyboard its feel, which can vary wildly depending on what kind of switches you choose to use. There are hundreds of varieties, many of which are hard for even aficionados to tell apart, but for a newb there are three main flavors to consider: “linear,” “tactile,” and “clicky.” Each of these three flavors tends to come in two varieties of stiffness, where a stiffer switch requires more force to press down.
Off-brand switches

Cherry is the brand-name keyboard switch manufacturer, but its patent on the iconic design has expired. “Clones” from Gateron or Razer are all functionally identical. Generally, colors also indicate the same sensation across brands, but double check for the universal keywords “tactile,” “linear,” and “clicky” when buying boards with non-Cherry switches.
Linear switches are switches that simply go up and down with no gimmicks. When you press a linear switch, you’ll feel it depress smoothly until it’s all the way down. This is the vanilla of mechanical switches: it is very good and very enjoyable but it is also very simple. If you see a switch called a “red” or a “black,” it is almost certainly a linear switch. Blacks are typically the stiffer of the two.
Clicky switches are the other end of the spectrum. Clicky switches have two parts inside of them that smack against each other as you press them down, which results in a satisfying sensation for your fingers as well as a clicky noise that you may enjoy but that other people in the room will almost certainly hate. If you see a switch called a “blue” or a “green,” it is almost certainly a clicky switch, and greens tend to be the stiffer of the two.
Tactile switches are something of a fusion of these two options. Tactile switches have “bump” on the way down, a small physical sensation that is reminiscent of a click, but much more subtle and, perhaps more importantly, entirely inaudible. Tactile switches are a little rarer than linear or clicky switches, but are very popular among enthusiasts for this best-of-both worlds-quality. They’re also, by far, my favorite. If you see a switch called a “brown” or a “clear,” it is almost certainly a tactile switch, and clears are generally the stiffer of the two.
Related Video: How to Build a Mechanical Keyboard
[embedded content]There is also a flavor of switches called “Topre,” but that’s a whole other can of worms you can open on your own if you’d like.
Our recommendation: Your first consideration for your choice be sound. Don’t buy clicky switches if you work within earshot of family or coworkers!!! Their high-pitched clicks tend to be particularly irritating to bystanders. While linear and tactile switches lack an annoying “click,” they do still make considerably more noise than a membrane keyboard. If that prospect makes you self-conscious, my go-to solution is not to give up the dream but rather to convince a coworker to buy a mechanical keyboard as well so you are not alone. You can also opt for specialized keyboards that are designed to be quiet, but even these make noise.
The second consideration is feel. You can buy switch testers like this 9-Key Cherry Tester ($18) which will give you the opportunity to feel everything you’ve just read about, and for a reasonable price. But beware: pressing one switch with one finger is barely indicative of what it feels like to type on keyboard full of that switch. If you have a friend with a mechanical keyboard, certainly ask to try theirs. Otherwise, just take the plunge with whatever seems appealing. Personally, I prefer tactile, but enjoy linears as well!

Size and layout
Once you’ve settled on your switches, the hard part is over. But there are still a few more considerations. Keyboards come in a wide variety of shapes and designs. Some are truly wacky, but sticking with more traditional rectangular boards, you have three main options as to size and style.
But what about gaming keyboards?

So-called “gaming keyboards” from companies like Razer make up a huge part of the mechanical keyboard market, and are very competent boards even for non-gamers. Their general aesthetic is a little….polarizing, but that is about the only meaningful difference between them and non-“gaming” keyboards. Follow your bliss!
Full-size keyboards have all the keys you could ever want: a full suite of letters and numbers (obviously) but also arrow keys, a row of F1-F12 function keys above the numbers and a dedicated numpad. This is your safest bet, with a few minor downsides. Bigger mechanical keyboards are generally more expensive, and they have a larger footprint on your desk.
Tenkeyless boards are a full-size keyboard, but without the numpad. Simple! After all, you can just pick up a numpad separately if you really miss it.
60 percent keyboards dispense with the numpad, but also function keys and, most notably, arrow keys. In lieu of dedicated keys for these functions, 60 percent boards make use of a feature called layering. Just like you would hold shift to access the “layer” of keys where symbols like @ and * live on a normal keyboard, 60 percent keyboards use an additional “function layer” to give you temporary access to the keys it is missing. Some slightly larger keyboards known as 65 or 68 percent keyboards, find a way to cram in those arrow keys somewhere by getting creative with the size of certain keys.
There are also even smaller boards, but that’s a conversation for another day.
Our recommendation: Unless you use the numpad on a very regular basis, get a Tenkeyless. Smaller 60 percenters are very popular for their minimalism and portability, but I would advise against choosing any keyboard that does not have arrow keys. If you’re anything like me, you will miss them far, far more than you expected to.

What’s your next upgrade?!
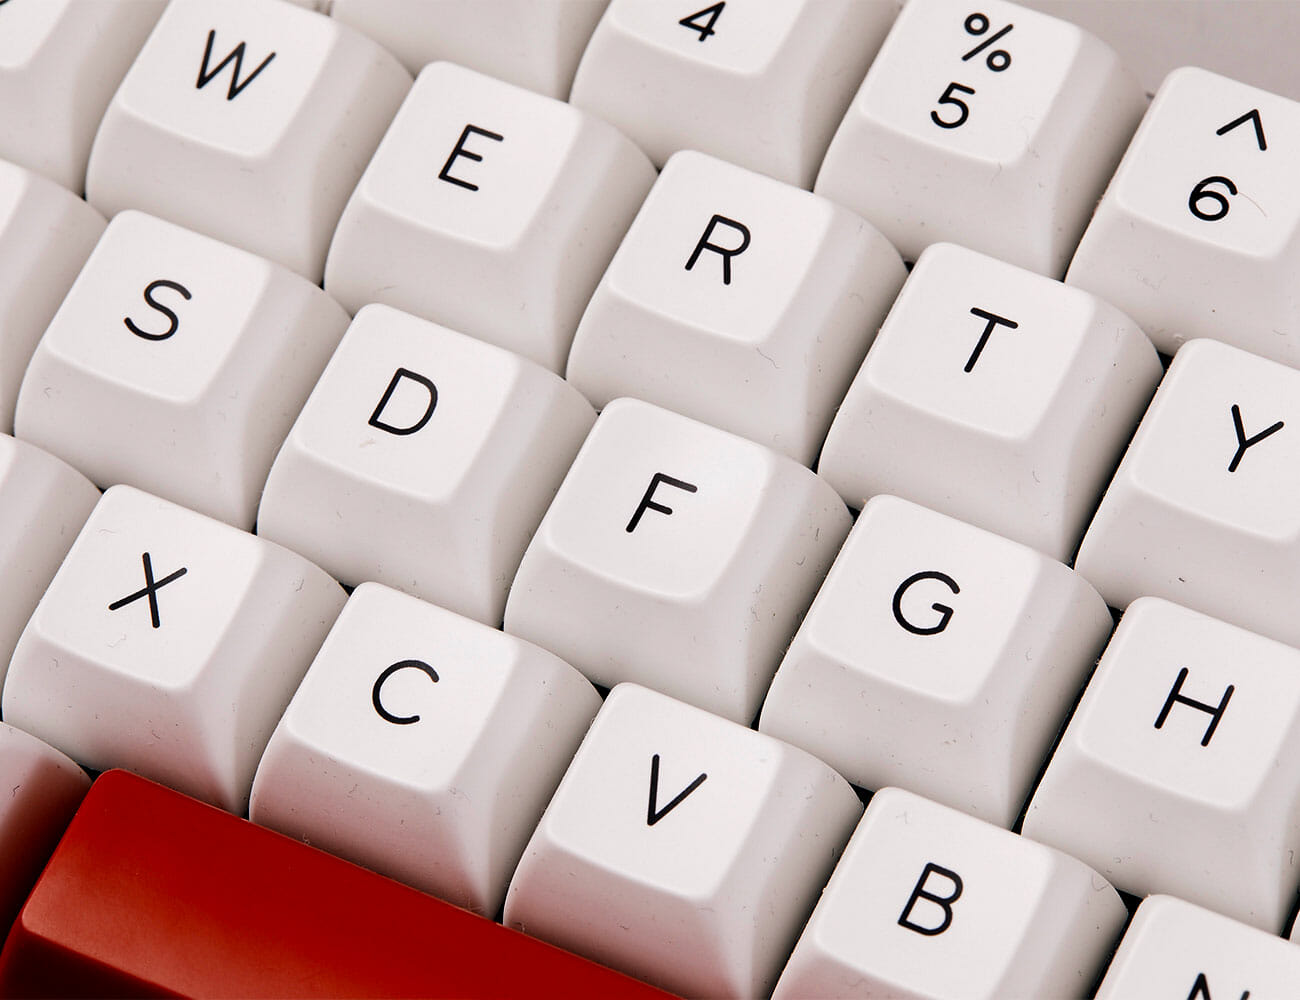
Typing on a mechanical keyboard is a blast, but it is only half the fun. The other half, and the truly addictive (and expensive) part is tricking it out. Unlike membrane keyboards where the keycaps are typically permanently attached to the board, a mechanical keyboard’s keycaps are removable. This means that you can pull off that stock plastic and replace it with all manner of colorful alternatives. This is how you turn the mechanical keyboard you bought into your mechanical keyboard.
Budget sets of replacement caps can be found on Amazon in the $30-50 range. But while colorful and widely available, they’re generally made out of low quality plastic and a pretty limited variety of colors. More esoteric and high-quality keysets are generally produced in small runs, are only available for limited times through boutique websites and may cost as much if not more than what you paid for the keyboard itself.
For an idea of the range of options that are trendy with enthusiasts, scope out a mechanical keyboard haunt like r/mechanicalkeyboards on Reddit. For an idea of what is available for purchase at the moment, you can scope out reputable boutique retailers like Drop, Pimp My Keyboard, and Originative Co. Just be prepared to wait; orders for new keysets are often taken long before the keys themselves are actually in production.
For a smaller upgrade, you can also purchase custom keys one by one. Some novelty keys, like the ever-popular “Sadster” can be had for as little as a dollar. Other “artisan” keys are made by hand or produced using handmade casts. These highly collectible keys are truly stunning and unique works of art, but they’re also wildly expensive. Artisan keycaps from Jelly Key (some of the best in the biz) will run you $50 or more for a single key.
And then, of course, there is the matter of your next keyboard because, let’s face it, there will be another. While it is too much to go into right here right now, just know that there is a wide, wide world of tiny keyboards, strangely-shaped ergonomic keyboards and, of course, the prospect of building one yourself.
Our recommendation: Any, or all, of the above! Just do something, because otherwise you’re only having half the fun you could be.